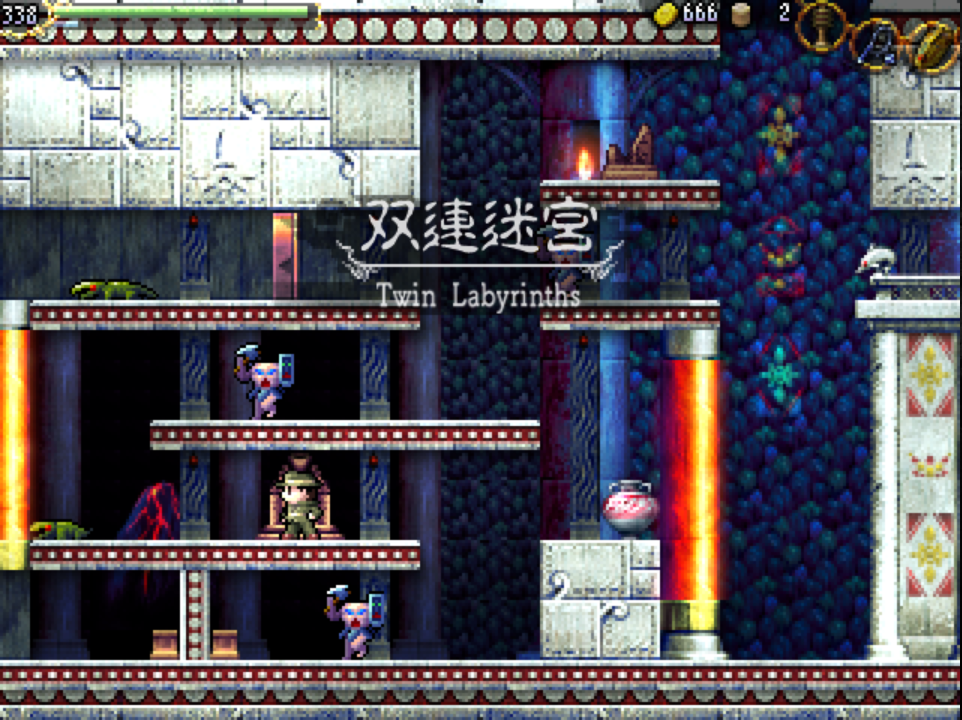
Behold the Twin Labyrinths.
The souls of the twins dwell here.

— Grail Tablet,
Twin Labyrinths (E-1) and (G-5)
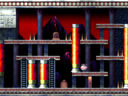
The Twin Labyrinths (Japanese: 双連迷宮, "Sō Ren Meikyū" / lit. "Twin Linked Labyrinths") are a large, challenging field within the ruins with both frontside and backside connected to each other. The level is themed after the twins Idigna and Buranun, as well as the Minoan culture, with dolphin statues and other aquatic creatures as part of the level design. This field contains many puzzles dealing with symmetry, ultimately requiring the player to determine which side is front and which is back. Though some rooms can be accessed relatively early, the Twin Labyrinths cannot be fully explored without the Twin Statue, which is required to enter the many Twin Gates connecting both halves of the field.
- Area Number: 7
- Music: Grand Ritual
- Entrances and Exits:
- A-2: Mausoleum of the Giants (H-4)
- B-5: Inferno Cavern (E-1)
- D-1: Temple of the Sun (D-6) after defeating Ellmac
- I-5: Temple of Moonlight (D-2)
- G-1: Shrine of the Mother (A-3) after Lifting the Poison
- I-1: Dimensional Corridor (B-7) after finding the Crystal Skull - Exit only
- Grail Tablets: (E-1) - Front; (G-5) - Back
- Backside Door: None, see Twin Gates.
- Compasses: (B-1) and (J-3)
- Fairy Point: (B-5)
- Guardian:
- Baphomet: (D-3)
- Sub-Bosses:
Map[]
| A | B | C | D | E | F | G | H | I | J | |
| 1 |  |
 |
 |
 |
 |
 |
 |
 |
||
| 2 |  |
 |
 |
 |
 |
 |
 |
| ||
| 3 |  |
 |
 |
 |
 |
 |
 |

| ||
| 4 |  |
 |
 |
 |
 |
 |
 |

| ||
| 5 |  |
 |
 |
 |
 |
 |
 |
 |
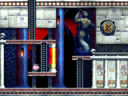
Twin Gates[]
- Unique to the Twin Labyrinths are Twin Gates, bright white doorways which function as Backside Doors between the two halves of the field. The Twin Statue is required to enter these. The following is a list of paired gates:
- (A-3)--(J-3)
- (A-4)--(J-4)
- (B-2)--(I-2)
- (B-4)--(H-2)
- (C-2)--(I-4)
- (C-4)--(H-4)
- (D-1)--(G-1)
- Note that the Twin Gates (B-4)--(H-2) and (C-2)--(I-4) can only be used after Lifting the Poison, see below.
Items[]
Weapons[]
- Location: (I-2)
- Enter the lower part of (I-2) from (I-3), then use the Twin Gate to access (B-2). Depress the floor switch there to make a new floor switch appear back in (I-2). Depress the new switch to reveal the Katana. Note you can exit (I-2) through a hidden opening on the left side opposite the switch.
Treasures[]
- Location: (B-2)
- Depress the floor switch in the upper area to reveal the Ring.
- Location: (D-2)
- Climb down the ladder from (D-1) and break the wall to your right to reveal the Map.
- Location: (C-3)
- Jump up through the ceiling and follow the hidden path all the way to the right. Place a weight on the hidden dais to unlock the chest.
Ankh Jewel[]
- Hints:
- "Reveal the light to the grieving twins. Reveal the light to a world destroyed. The hero confers light upon the twins as they hold up the world"
- Hint 2: Each twin has an individual monument dedicated to them on the ground floor.
- Solution
- Jewel Location: (G-2)
- At (C-5), fire a Flare to light up the eye of the Twin statue. Head to (D-2) and place a weight on the dais. At (H-5), fire a Flare to light up the eye of the other Twin statue. Head to (G-1) and climb down the leftmost ladder to (G-2). Break through the wall to reach the chest containing the Ankh Jewel.
- Note that the places you have to shoot the flares are not on the heads as one would expect, but instead closer to the biceps of the arms touching the ceiling.
- Note 2: On vita version you have to get the map before you can shoot a flare to light the statues.
Puzzles[]
Lifting the Poison[]
Before you can access many of the adjacent areas, you will need to clear the poison gas filling several of the rooms.
- Location: (D-1)
- This requires the Twin Statue.
- Enter from Temple of the Sun (D-6) and a 30 second countdown timer will begin
- if this reaches zero, you will die
- Quickly pass through the Twin Gate at the bottom to (G-1).
- Watch out for the trapdoors on the two platforms directly above the Twin Gate
- Climb your way up and place a weight on the dais.
- Make your way back down to the Twin Gate
- you can use the trapdoors to save time
- return to (D-1), and place a weight on the dais above to permanently remove the poison gas and open the adjacent rooms and cause a ladder to the Shrine of the Mother to appear at (G-1).
Front Elevator[]
- Location: (E-1)
- After lifting the poison gas, avoid the temptation to drop down to the right to reach the Grail Tablet, as you won't be able to get out of the room. Instead, head two rooms to the left to (B-1) and place a weight on the dais to activate an elevator in (E-1). This will allow you to climb back up from the Grail Tablet.
Back Elevator[]
- Location: (I-5)
- There is an inactive elevator at the bottom of the room. You must jump down from (I-4) and land on it, which will activate it and allow you to reach (I-3).
Baphomet's Ankh[]
- Hint: When the "black" witch is summoned she actually appears in blue robes (twice the size of the others)! This may be due to an artistic mistake.
- Location: (D-3)
- You will need to defeat both Zu and Peryton to reach the requisite rooms. Enter (G-3) and slay the four witches to cause a black witch to appear in the middle of the room. Do not kill the black witch. Instead, leave and head to (D-3). Here, defeat the four witches again to cause a white witch to appear in the middle of the room. Kill the white witch to make the Ankh appear.
Enter the Dimensional Corridor[]
- Location: (I-1)
- After obtaining the Crystal Skull, jump up to the platform with the two skull icons using Poseidon's belt as a platform. Use the Crystal Skull to make a ladder to the Dimensional Corridor appear.
The Unsolvable Puzzle[]
- Location: (D-4)
- Use a Bomb to break the upper-left wall, revealing a passage and a trap. Proceed to solve the Block Puzzle to access the upper-right shop. In the original, this puzzle really was unsolvable.
Traps[]
- Location: (J-2)
- There is a fake Ankh Jewel sitting here. Approaching it will cause a swarm of bats to attack you.
- Location: (D-5) and (G-5)
- Falling into the long shafts here will spring a spike trap on you. Be careful in the rooms above. Escape using the Holy Grail.
- Location: (F-5)
- There is a trapdoor near the end of the upper path leading to/from (G-5). Additionally, a wall will drop down between the two spikes on the right as you pass through, blocking your path and potentially crushing you to death.
- Location: (E-5)
- There is a trapdoor between the tablet and spikes on the left side of the room. Additionally, a wall will raise up just to the right of the leftmost ladder as you pass through, blocking your path and potentially crushing you to death.
NPCs[]
Priest Jaguarfiv[]
- Location: (I-1)
- Gives a hint regarding Baphomet's Ankh.
Shops[]
Arrogant Sturdy Snake[]
Yiegah Kungfu[]
- Location: (A-4)
- This is the Little Brother's shop.
Yiear Kungfu[]
- Location: (J-4) - Must make 4 purchases from the Little Brother's shop for this to appear.
- This is the Big Brother's shop.
- Dragon Bone - 100 Coins
- Earth Spears - 10 for 20 Coins
- Flares - 10 for 40 Coins
Arrogant Metagear[]
- Location: (D-4) - Solve The Unsolvable Puzzle to reach the shop. Trying to jump up here without solving the puzzle will result in divine retribution.
- Lamp of Time - 200 Coins
- Shuriken - 10 for 10 Coins
- Chakram - 2 for 50 Coins
Coin Chests[]
- Location: (H-3)
- Jump into the ceiling somewhere between the mermaid paintings, then break the wall to the right.
- Location: (B-4)
- Break the stone wall section on the second level of platforms.
- Location: (B-2)
- The ceiling on the right side will collapse to reveal this chest when escaping the ruins.
Trivia[]
- The literal translation of the name is slightly inaccurate. Instead of 双連迷宮, the name could have just been 双迷宮, or "Twin Labyrinths". However, the kanji 連 means a pairing or connection, and this plays into the central theme of the area. Sadly, it was lost in translation.
- The pot on the right side of (G-4) above the entrance seems to always contain 10 Coins. You can respawn the room as many times as needed by going right two screens and coming back, providing a reliable if somewhat boring and time-consuming way to grind money.