Field Navigation
Gate of Guidance • Mausoleum of the Giants • Temple of the Sun • Spring in the Sky • Inferno Cavern • Chamber of Extinction • Twin Labyrinths • Endless Corridor • Shrine of the Mother
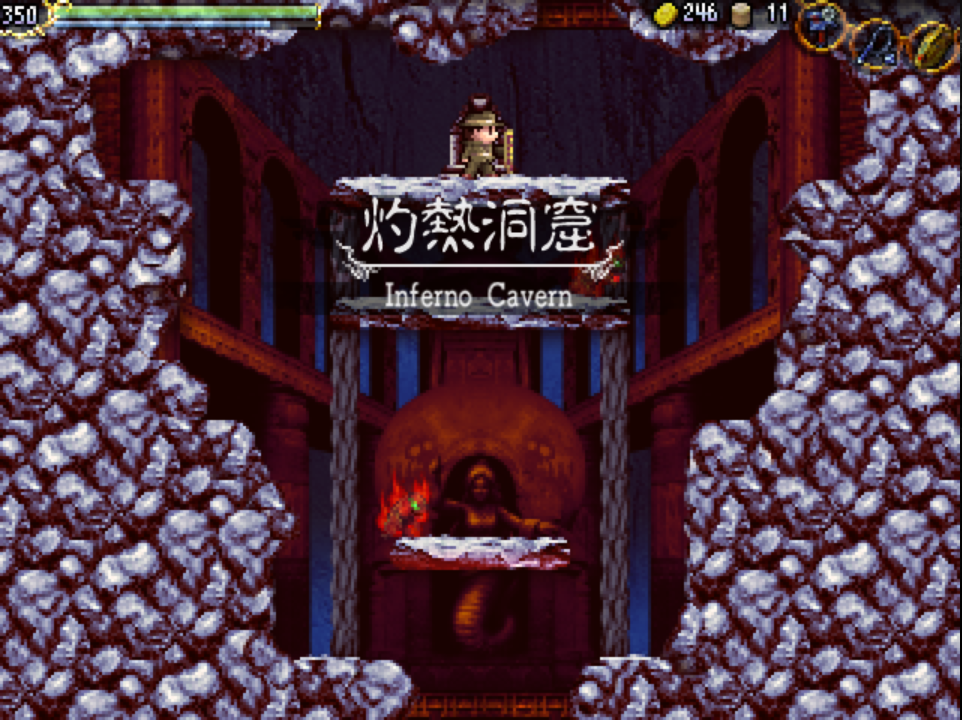
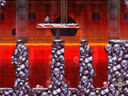
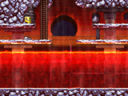
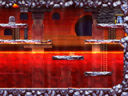
Inferno Cavern
Behold the Inferno Cavern.
It was once the source of strength.

— Grail Tablet,
Inferno Cavern (F-4)
The Inferno Cavern (Japanese: 灼熱洞窟, "Shakunetsu Dōkutsu" / lit. "Scorching Heat Cave") is a dangerous, lava-filled field in the ruins. Though fraught with peril, the Cavern holds some useful weapons for players able to find them. Be wary of falling into lava without the Ice Cape, as it will drain your health very quickly, and don't forget to use your Holy Grail in a pinch.
- Area number: 5
- Music: Inferno
- Entrances and Exits
- G-2: Temple of the Sun (A-2)
- E-1: Twin Labyrinths (B-5)
- D-5: Tower of Ruin (D-6) after defeating Bahamut
- D-6: Chamber of Extinction (G-2) after defeating Viy - Exit only
- E-5: Chamber of Extinction (H-2) - Entrance only
- The following are part of a closed path between the Chamber of Birth (D-2) and Tower of Ruin (F-1) and are not connected to the rest of Inferno Cavern.
- C-1: Surface (I-3)
- B-1: Tower of Ruin (F-1) after defeating Baphomet
- Grail Tablet: (F-4)
- Backside Door: (D-5)
- Compass: (E-2)
- Guardian:
- Viy: (D-6)
- Sub-Bosses:
- Pazuzu: (B-3)
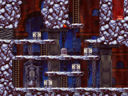
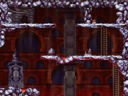
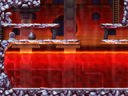
Map[]
| A | B | C | D | E | F | G | ||
| 1 |  |
 |
 |
|||||
| 2 |  |
 |
 |

| ||||
| 3 |  |
 |
 |
 |
||||
| 4 | 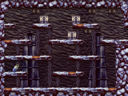 |
 |
 |
 |
||||
| 5 |  |
 |
 |
| ||||
| 6 |  |
Items[]
Weapons[]
- Location: (C-4)
- Break the upper left wall at (D-4) to enter the room. Solve the block puzzle to reveal the Flare Gun
- (Video).
- Location: (A-3)
- Break the Birth Wall Seal and use the Grapple Claw to access the passage that appears to the left. Defeat Pazuzu at (B-3) to access (A-3). Place a weight on either dais to raise its corresponding pillar, allowing you to reach the dais on top and unlock the chest. The pillars raise flush with the ceiling and will crush you if you do not jump off in time. They also do not reset when leaving the room.
Treasures[]
- Location: (E-1)
- Attack the two serpent statues until they begin to fire lasers. When both have been angered, the chest will unlock.
- Location: (G-5)
- Quickly place a weight on the dais and jump out to avoid being burned to death by the lava. Push the block that appears onto the block plate to unlock the chest.
Software[]
- Location: (F-5)
- Break the wall to the left of the ladder to reveal the software.
- Location: (E-4)
- Break the upper-left rock to reveal a shop. Buy for 150 Coins.
Puzzles[]
Viy's Ankh[]
- Location: (D-6)
- Enter (D-5) from the Tower of Ruin (D-6). A mechanism in the background will raise a dais to (D-4). Place a weight on the dais in the lower-right corner to open a path to (E-5), then climb up to (D-2) and drop into the lava on the right side. Fall down to the upper-right corner of (D-4) and place a weight on the dais to make Viy's Ankh appear.
Lamia Statue's Mantra[]
- Location: (F-2)
- Go to (B-1) after finishing the Endless Corridor and Twin Labyrinths Mantras, either from the Surface or Tower of Ruin (After you open the sage's shortcut). Break the statue on the ledge, and place a weight on the dais behind it. The Lamia Statue will vanish the next time you enter (F-2), revealing the Mantra tablet.
Traps[]
- Location: (G-2)
- The blocks here slowly sink into the lava when stepped on. Jump across them quickly. There is also a not-so-obvious flame jet in the ceiling just in front of the gate. Try not to get too caught up in checking your e-mail, or you might get knocked into the lava.
- Location: (F-2)
- The two thin platforms just atop the lava on both sides of the screen will break when you pass over them.
- Location: (E-2)
- There is a fake Sacred Orb here. Approaching it will cause a large section of the floor to drop away into a pool of lava.
- Location: (E-5)
- There is a trapdoor under the rock on the left that will drop you directly into the lava.
- Location: (B-1) and (C-1)
- Unlike other spikes throughout the ruins, the spikes here will continue to damage you if you linger in them.
NPCs[]
Priest Romancis[]
- Location: (C-3) Behind lower-left block
- Talks about Inferno Cavern lore.
Priest Gailious[]
- Location: (D-3)
- Gives a hint regarding the Chain Whip and Flare Gun.
Shops[]
Hot-blooded Nemesistwo[]
- Location: (E-4) - Break the upper-left rock to reveal the shop.
- capstar.exe - 150 Coins
- Earth Spears - 10 for 20 Coins
- Weights - 5 for 10 Coins
Coin Chests[]
- Location: (E-2)
- Break the middle of the left wall at (F-2) to access.
- Location: (C-1)
- Break the wall section in the middle of this room.
Trivia[]
- There is a special field called the "Burning Cavern" that shares the same BGM and graphical data as the Inferno Cavern, only slightly darker. It consists solely of an endless lava pit. It is not connected to the rest of the Inferno Cavern, and only appears during the process of unlocking the Hell Temple.
- Rooms B1 and C1 return in the sequel, accessible from the Village of Departure. Due to the collapse of La-Mulana, it has become relatively safe and only provides means to locate one of the mantras.