Field Navigation
Gate of Guidance • Mausoleum of the Giants • Temple of the Sun • Spring in the Sky • Inferno Cavern • Chamber of Extinction • Twin Labyrinths • Endless Corridor • Shrine of the Mother
Gate of Illusion • Graveyard of the Giants • Temple of Moonlight • Tower of the Goddess • Tower of Ruin • Chamber of Birth • Twin Labyrinths • Dimensional Corridor • True Shrine of the Mother
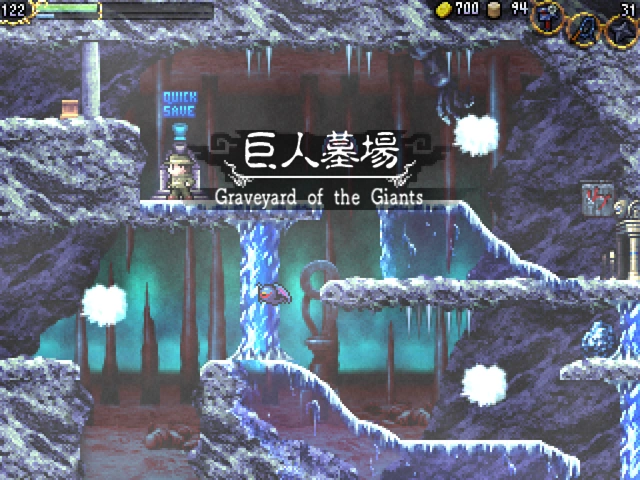
Behold the Graveyard of the Giants.
It is the resting place for Giants overcome by sorrow.

— Grail Tablet,
Graveyard of the Giants (D-2)
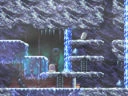
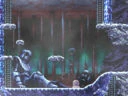
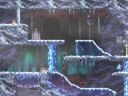
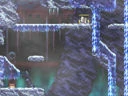
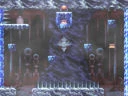
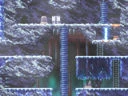
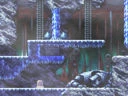
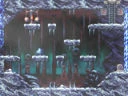
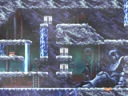
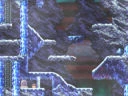
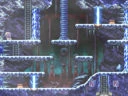
The Graveyard of the Giants (Japanese: 巨人墓場, "Kyojin Hakaba" / lit. "Giant Graveyard") is the chilling backside of the Mausoleum of the Giants. Littered with the corpses of the Giants themselves, this maze-like field is covered with slippery floors and icy walls that can't be grappled easily. The rightmost section (columns E through G) is inaccessible until after solving puzzles in the Tower of the Goddess.
- Area number: 2
- Music: Giant's Cry
- Entrances and Exits:
- C-3: Mausoleum of the Giants (D-3)
- B-5: Tower of Ruin (G-5)
- B-1: Gate of Illusion (C-5) after completing Paradise Lost
- D-2: Temple of Moonlight (B-5) (passes through the Tower of the Goddess)
- Before obtaining the Bombs and opening the path to (E-4), the following are part of a closed path between Tower of the Goddess and Chamber of Birth.
- G-4: Tower of the Goddess (E-1)
- E-5: Chamber of Birth (D-1)
- Grail Tablet: (D-2)
- Backside Door: (C-3)
- Compass: (F-3)
- Sub-Bosses:
- Kamaitachi: (E-3)
Map[]
| A | B | C | D | E | F | G | ||
| 1 |  |
 |
 |
|||||
| 2 |  |
 |
 |
 |
||||
| 3 | 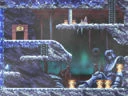 |
 |
 |
 |
||||
| 4 | 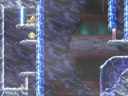 |
 |
 |
 |
||||
| 5 | 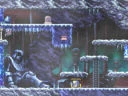 |
 |
 |
 |
||||
| 6 | 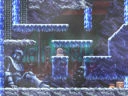 |
Items[]
Weapons[]
- Location: (E-3)
- See Obtaining the Bombs
- Location: (B-2)
- Break the floor in the lower-right corner of (B-1) and fall through to (B-2). The Silver Shield is sitting on a platform. Note: The Silver Shield being sold at the shop in (A-1) is fake, and will permanently break like the Buckler.
Treasures[]
- Location: (D-3)
- Place a weight on the dais in the lower-left corner. Proceed to (D-2) and place a weight on the dais to cause the ice block to drop. Fall down below and jump up to the ledge (mind the spikes) to obtain the Map.
- Location: (D-4)
- Solve the block puzzle at (C-5). Proceed to (D-4) and double-jump up to break the Life Wall Seal, removing the barrier. Double-jump again and use the Grapple Claw to reach the top ledge.
Software[]
- Location: (B-5)
- Jump into the ice block containing a dais from the left and place a weight to access the chest below.
- Location: (F-4)
- Break the block of ice in the center of the room by tossing Bombs at it from the right (it will take quite a few). Once the mural is revealed, scan it using torude.exe to receive the software.
- I've done this with just two bombs before. Is there a specific place to hit with a bomb first?
- I did it with a single bomb hit - I think it's just a very specific spot in the upper right.
Puzzles[]
Cool the Hot Spring[]
- Location: (A-2)
- There is a Hot Spring in the lower-left corner of this room, but it is initially too hot and will actually drain health instead of restoring it. Attack the ice block just above it until it falls into the water, cooling the spring enough to be used.
Stairway to Eden[]
- Location: (B-1)
- There is a frozen Giant bone holding up the block of ice at the top of the room. Break the rock, then the bone to cause the ice to drop. Push the block across the new surface and onto the block plate to make the ladder appear.
Two Ice Blocks[]
- Location: (C-1)
- There are two daises in this area, and placing a weight on either of them will cause the large ice block on that level to fall. Dropping the bottom one first will create an easy path to the ladder at (C-2), allowing you to reach the Grail Tablet. Dropping the top one first will create an easy path to the Coin Chest hidden in the upper-right corner of (C-1), but you will not be able to drop the bottom one. For whichever easy path you choose, you will need the Feather to reach the other path. Important: This choice is permanent.
- NOTE: in the WiiWare version, if you drop the top block first, it permanently blocks that route to the Grail tablet. The secret wall that you need to go through is not at the top of the ladder, it's higher, behind where the ice blocks get stuck. There is, however, an alternate route to the Grail Tablet: Go down to D-6 and use a bomb to destroy the floor below the booby-trapped treasure chest. Drop down the hole and you'll end up in D-1 next to the Grail Tablet.
Reach the Grail Tablet[]
- Location: (D-2)
- Climb the ladder at (C-2) up to (C-1), then walk right through the false wall and fall into (D-2). Use a weight to move the wall blocking the path and reach the Grail Tablet. NOTE: This is where the false wall is on the PC remake. The WiiWare remake has a false wall behind the lower of the Two Ice Blocks you can drop. See the notes above.
Path to the Graveyard[]
- Break the eye of the giant at (D-6) to activate the moving platform between D-4, D-5 and D-6.
Obtaining the Bombs[]
- Location: (F-3)
- Jump on the leftmost ice block to free the ice block in the upper-right corner. Jump on the new block to place a weight on the dais, thawing the dais at the top of the screen. Lower the remaining blocks one by one to lock the top block with the dais (as long as one of the 3 platforms on the right is "down", the central platform will remain locked in place). Place a weight on that dais to clear a path to a dais in (E-5). Place weights on daises between (E-4) and (E-5) until a ladder appears in (E-5). Take this up to (E-4) and push the block onto the floor switch to reveal a ladder to (E-3). Defeat the Kamaitachi to reveal the Bomb.
Chamber of Birth Shortcut[]
- Location: (E-4)
- Use a Bomb to break the wall blocking the path to (D-4) from the right. This will make it easier to get to the Chamber of Birth entrance at (E-5) without having to go through the Tower of the Goddess.
Traps[]
- Location: (D-6)
- Placing a weight on the dais will spawn a Tougen to your left, trapping you until you defeat it. It is not possible to open this chest.
- Location: (D-6)
- Climbing up the right ladder of the pair will trap you in a small area of (D-5), forcing you to use a Weight to leave.
NPCs[]
Giant Thexde[]
- Location: (E-4)
- Follow the procedure for finding the Bombs to create a ladder leading to the top area. Gives a hint about the Spaulder.
Shops[]
Giant Mopiran[]
- Location: (A-1)
- Earth Spears - 10 for 25 Coins
- Fake Silver Shield - 100 Coins (Will break after one use)
- Angel Shield - 400 Coins (If you missed it in the Dimensional Corridor)
- Weights - 5 for 15 Coins
Coin Chests[]
- Location: (C-1)
- Refer to Two Ice Blocks for this room. Break the upper-right wall to reveal the chest.